Roasted garlic transforms the sharp flavor of raw garlic into a soft, sweet, and savory treat. It’s incredibly EASY to make, you can spread it on toasted bread, or incorporate it into sauces, dressings, or even mashed potatoes!
Why you’ll love this roasted garlic recipe
- Health benefits. Garlic is known for its potential health benefits, including its antimicrobial and antioxidant properties, which support a healthy immune system and cardiovascular health!
- Irresistible flavor. I love roasting. Roasting vegetables develops their sweet, mellow flavor into something deeply savory and complex. Check out this simple roasted cauliflower recipe for more inspiration.
- Versatile ingredient. This can be used in a variety of recipes, from spreads and sauces to soups, roasted vegetables, and even salad dressings. Classic garlic bread will always be one of the easiest side dishes I make at home.
- Creamy and spreadable texture. Once roasted, cloves become soft and creamy allowing you to spread them effortlessly on bread or crackers or incorporate them into dips and creamy sauces.
Ingredients needed
- Whole garlic bulbs. Whole heads of garlic are the main ingredient, providing the raw cloves that will be roasted.
- Olive oil. Olive oil is used to coat the bulbs before roasting. It helps to keep the garlic moist and infuses it with a subtle richness during the roasting process.
- Salt. Salt enhances the natural flavors of the garlic, bringing out its delicious taste and balancing the sweetness that develops during roasting.
How to make roasted garlic
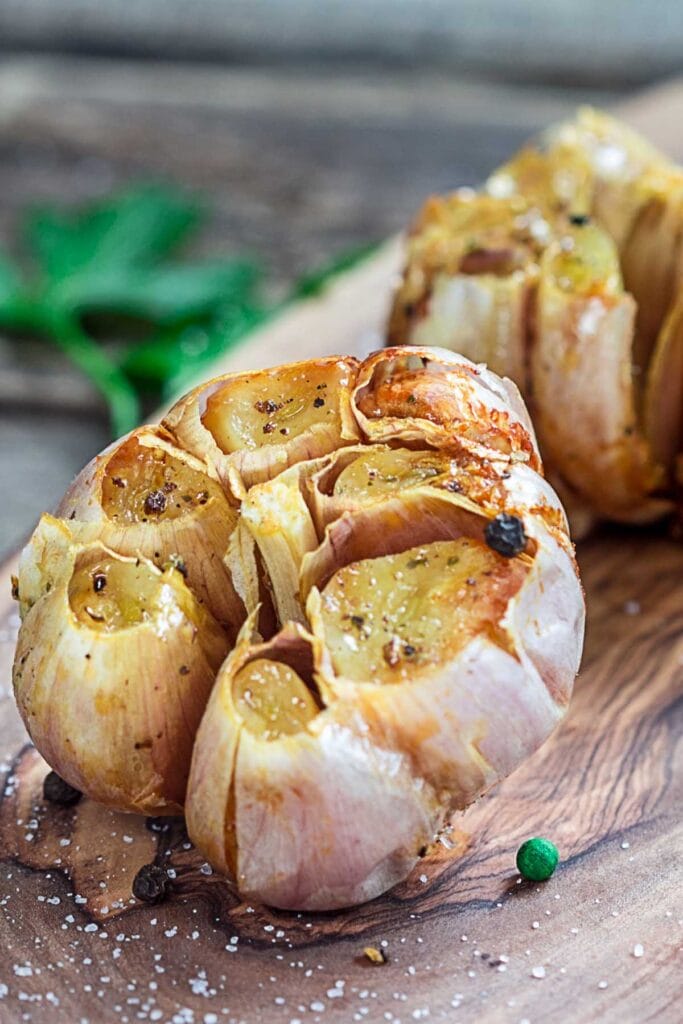
Step 1 – Preparation. Preheat your oven to 400°F (200°C). Take each garlic bulb and peel away any loose outer layers of skin, keeping the bulb intact. Using a sharp knife, slice off the top portion of each garlic bulb to expose the cloves.
Step 2 – Roast the garlic. Place the garlic bulbs in a parchment paper lined baking dish or on a sheet of aluminum foil and drizzle olive oil generously. Make sure the cloves are well coated and then sprinkle a pinch of salt over each bulb to season them. Cover the dish with aluminum foil or a lid and bake it for about 40-45 minutes, or until the cloves are soft and golden brown.
FREE EBOOK SERIES! 5 SECRETS FOR FOOLPROOF VEGAN DESERTS
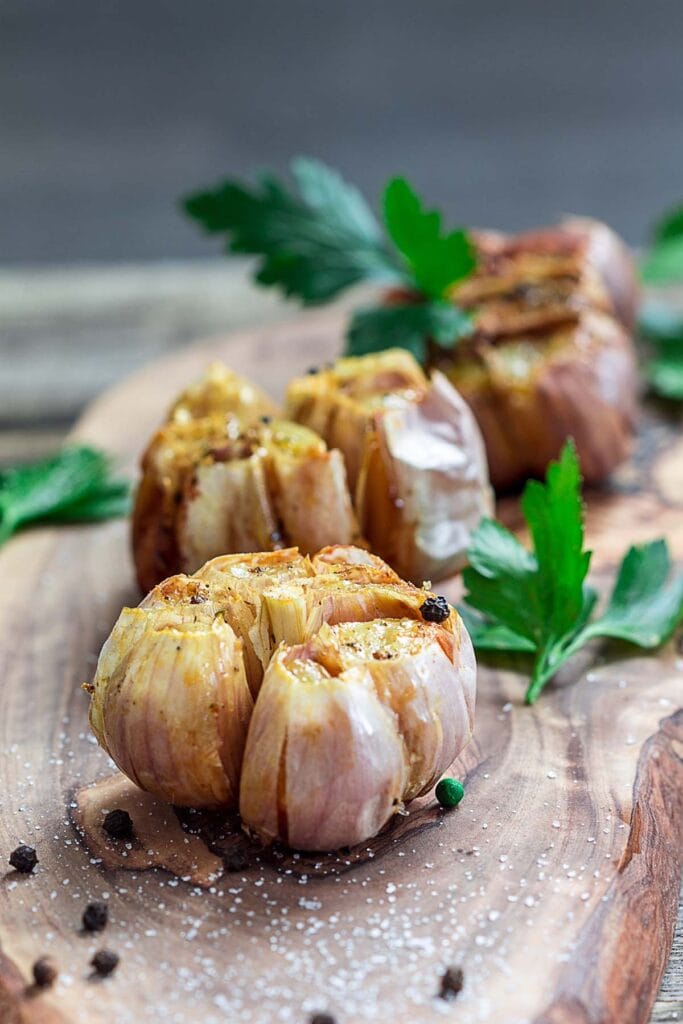
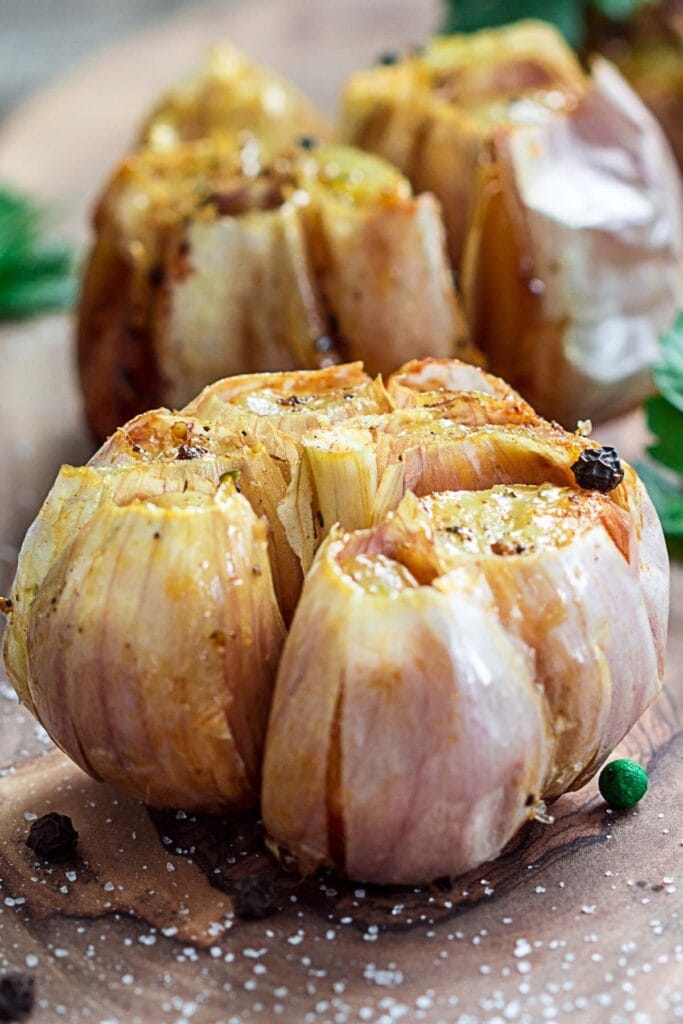
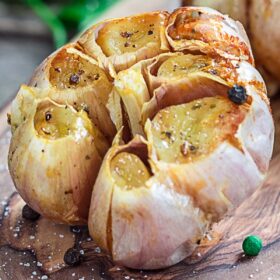
Step 3 – Extract the garlic. Once roasted, remove the dish from the oven and let it cool for a few minutes until it’s safe to handle. To extract the cloves, gently squeeze the bottom of each bulb or use a small knife to loosen each clove and remove it from its papery skin.
The roasted garlic is now ready! I use them in just about every savory dish I make! Spreads, sauces, mashed potatoes, or as a flavorful addition to your next masterpiece!
Tips to make the best recipe
- Choose fresh and plump bulbs. Select garlic bulbs that are fresh and plump, as they tend to yield the best flavor and texture when roasted.
- Drizzle ample olive oil. Be generous with the amount of olive oil used to coat the bulbs. Sufficient oil helps to keep the cloves moist during roasting. In place of this you can also use vegan butter.
- Adjust roasting time as needed. Keep a close eye on the garlic bulbs while they roast. The cooking time may vary depending on the size and freshness of the bulbs.
Storage instructions
To store: Allow the roasted garlic to cool completely at room temperature and then separate the individual cloves from the bulb. Place any leftoevers in an airtight container or wrap them tightly in plastic wrap. They can be stored in the refrigerator for up to one week.
To freeze: You can also place any leftovers into a freezer safe container and store for up to 3 months.
Recommended tools
- Basting brush. This will help ensure that your oil and seasoning are evenly coating the garlic.
More simple recipes to enhance your dishes
Frequently asked questions
The choice between roasted and raw garlic comes down to the specific flavor and texture you want to achieve in your dish. Both have their place in different recipes.
The roasted garlic is done when the cloves are soft, golden brown, and easily mashable. You can check the doneness by gently squeezing a clove; it should feel soft and tender.
While it’s possible to use pre-peeled garlic cloves, it’s generally recommended to use a whole garlic head for roasting. The whole bulbs retain moisture better during the roasting process.
Yes, roasted garlic can be prepared in advance and stored for later use. Once cooled, store the roasted garlic cloves in an airtight container in the refrigerator for up to one week.
Roasted Garlic
Ingredients
- 2 bulbs garlic large
- 2 tablespoons olive oil
- 1/2 teaspoon salt
Instructions
- Preheat your oven to 400°F (200°C). Take each garlic bulb and remove any loose outer layers of skin, keeping the bulb intact. Using a sharp knife, slice off the top portion of each garlic bulb, exposing the cloves.
- Place the garlic bulbs in a baking dish or on a sheet of aluminum foil. Drizzle olive oil generously over each bulb, making sure the cloves are well coated. Sprinkle a pinch of salt over each bulb to season them. Cover the dish with aluminum foil or a lid. Roast the garlic for about 40-45 minutes, or until the cloves are soft and golden brown. The exact cooking time may vary depending on the size of the bulbs.
- Once roasted, remove the garlic from the oven and let it cool for a few minutes until it's safe to handle. To extract the roasted garlic cloves, gently squeeze the bottom of each bulb or use a small knife to loosen the cloves and remove them from their papery skin.
- The roasted garlic cloves are now ready to be used in various recipes, such as spreads, sauces, mashed potatoes, or as a flavorful addition to your favorite dishes!
Talk Back To Me