As a child, Paddle Pops were one of my favourite after school treats. Okay, who am I kidding? I had Paddle Pops for breakfast, during recess, after school, after dinner and before bed. I was a tubby little monster. Moving forward… For those of you who have NO IDEA what a Paddle Pop is, it is a milk-based rainbow popsicle that every child in Asia and Australia thought was “Rainbow” in flavor. Little did us silly children know that its actual flavor was “Butterscotch”. After finding out that Paddle Pops weren’t Rainbow flavored as I imagined, my childhood came to a fukking end and I turned into the nihilistic emo that I am today. So, in a bid to revive what is left of my innocent and youthful self, I decided to come up with a Vegan Paddle Pop Squares or Slice, whatever you may want to call it, inspired by So Beautifully Raw.
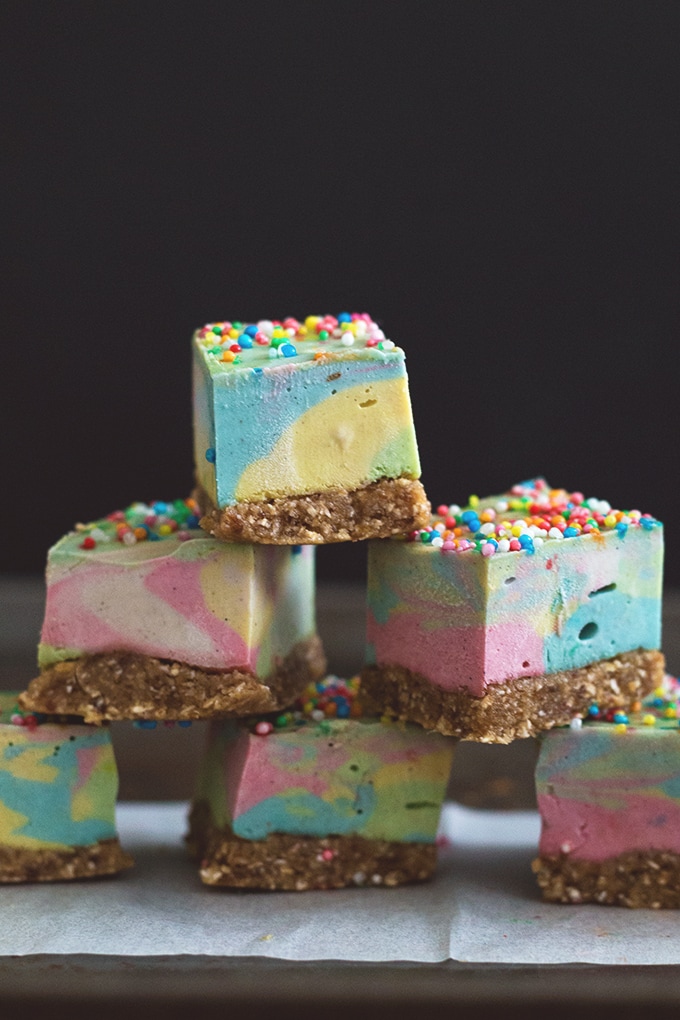
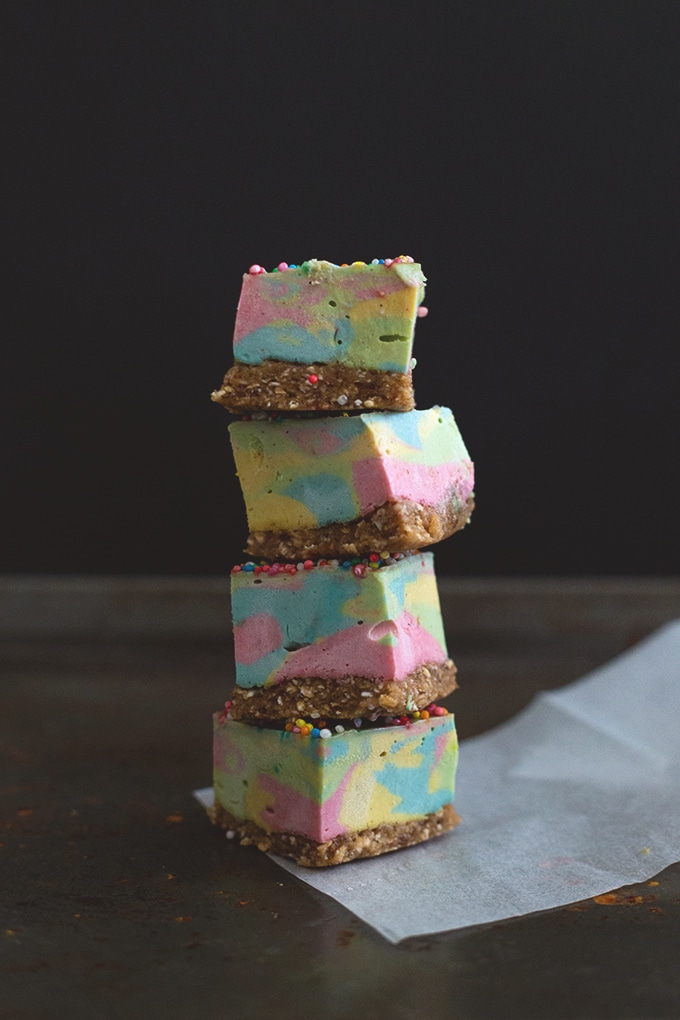
 For the base of my frozen Paddle Pop Squares, I use a mixture that is very similar to what I make for my Vegan Snickers Bars. Almond Meal, Dates, Sea Salt, Vanilla Extract and Oat Flour are combined to make a delicious base that I pat into a plastic wrap lined 6 inch tin. You’ll want to chuck that in the fridge whilst making your Vegan Paddle Pop Mixture. The Paddle Pop Squares Mixture is simply a blended up mixture of Raw Cashews, Soy Milk, Maple Syrup, Vanilla Bean Seeds, Melted Refined Coconut Oil and Caramel or Butterscotch flavoring/extract/oil (you can purchase these online, just make sure they are Vegan). The reason why I use Maple Syrup and Caramel/Butterscotch flavoring/extract instead of Agave or Rice Malt Syrup is to truly recreate that butterscotch flavor that is in the original Paddle Pop recipe.
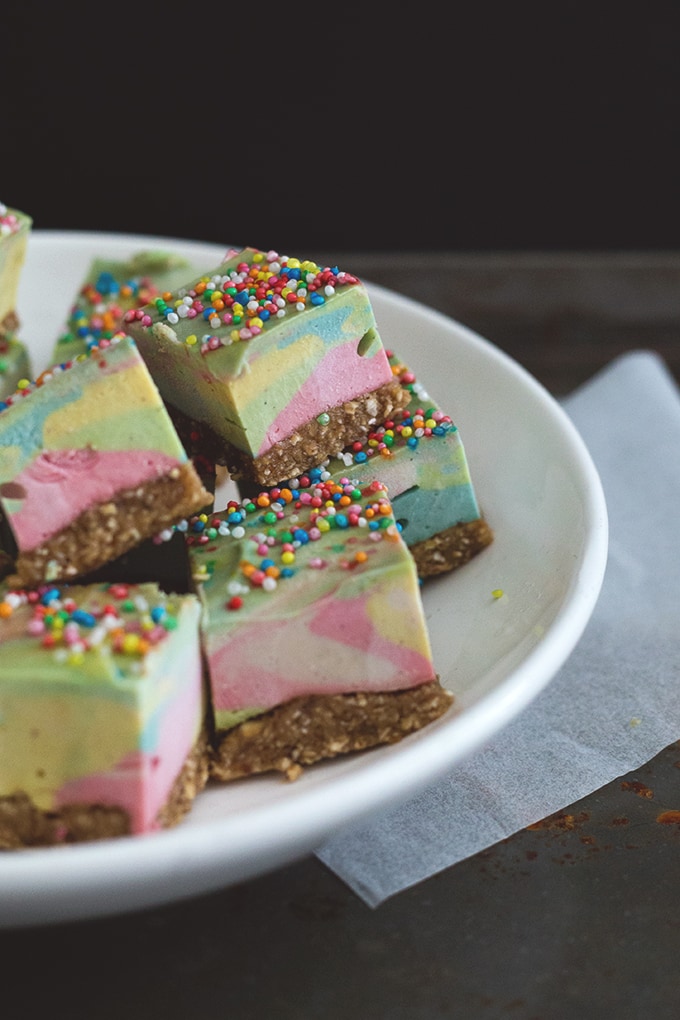
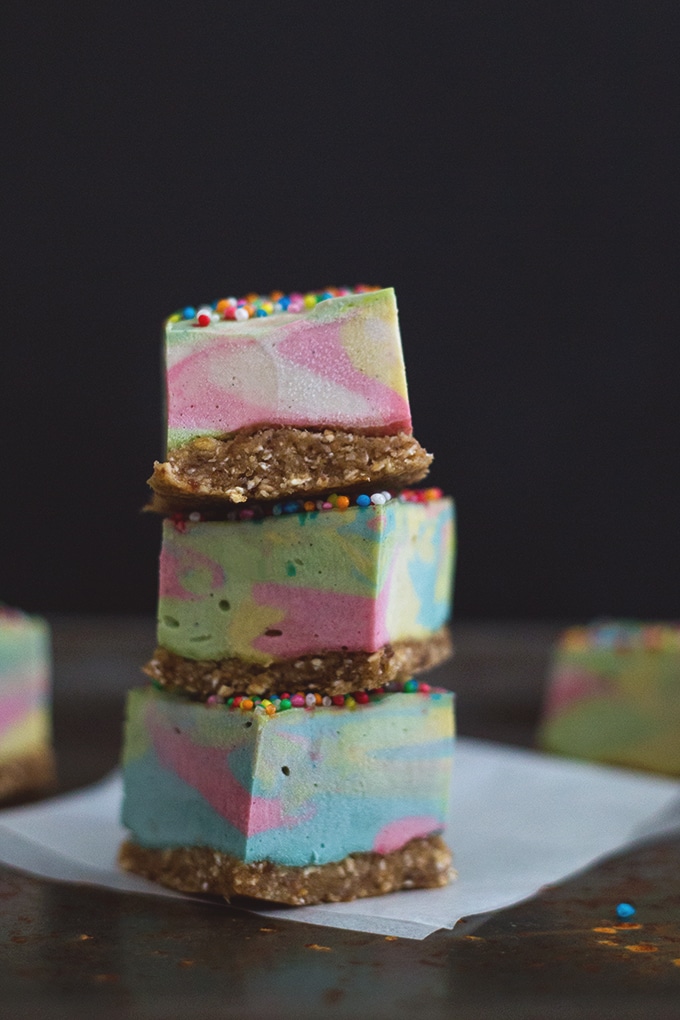
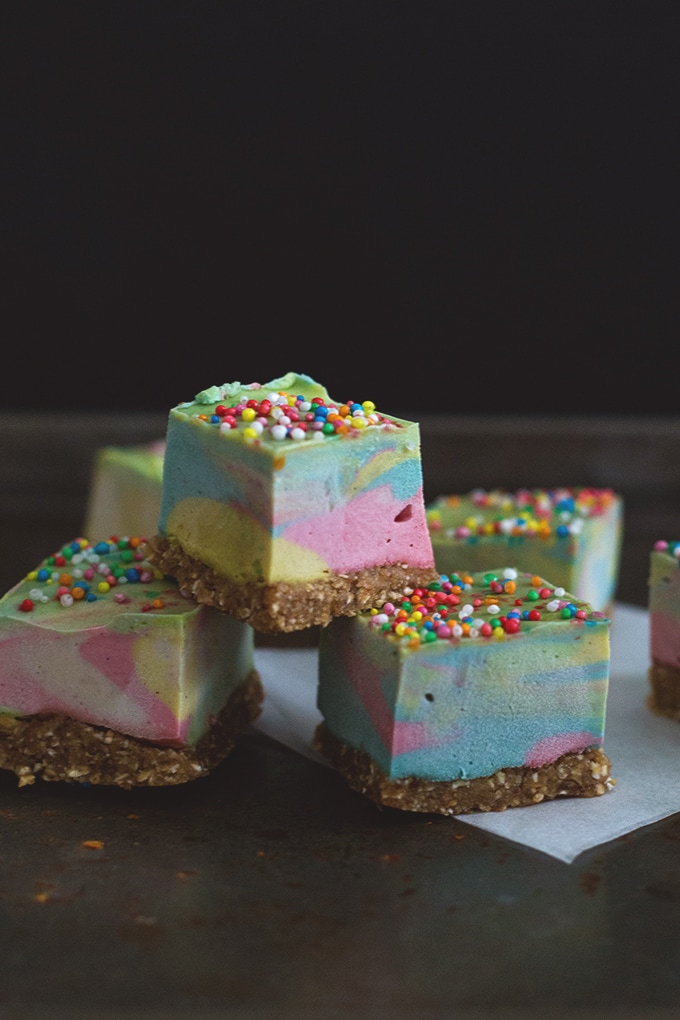
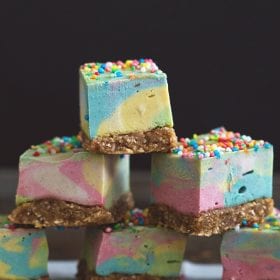
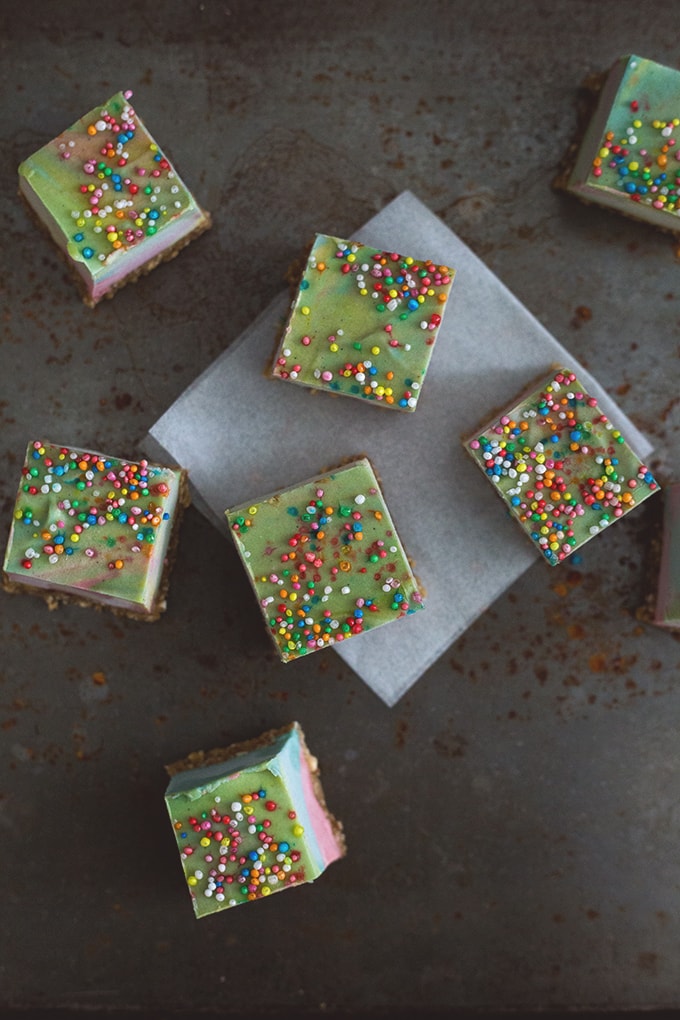 Once blended and smooth, the Paddle Pop mixture is divided into four bowls and each one colored with a signature Paddle Pop color. For those who don’t know, that would be Pink, Blue, Yellow and Green (the last time I checked anyway!). Remember to use Vegan Food Coloring, folks. Once you’ve got your colored mixtures, you’ll want to spoon the colors randomly over your prepared base until all of your mixtures are used up. Using a knife, you’ll then swirl or marble the colors around to your desired effect. All that is left to do now is to freeze the entire tin overnight and then cut into slices the next day.
FREE EBOOK SERIES! 5 SECRETS FOR FOOLPROOF VEGAN DESERTS
 Gluten Free, Raw, Refined Sugar Free and made super rich and indulgent with heart healthy Cashews and Coconut Oil, this recipe will definitely wow a crowd, even if they are not Vegan. If they are not wowed, then it’s time to get some new friends. Anyway, enough with the talking (can’t believe I typed so much, I must really love Paddle Pops), and onto the Vegan Paddle Pop Slice making! Scroll down for the full recipe and seeya next time!
Paddle Pop Squares
Ingredients
For The Base:
- 8 large Medjool Dates pitted
- 1/2 cup Almond Meal
- 1/2 cup Oat Flour
- 1 teaspoon Vanilla Extract
- 1 Pinch Sea Salt
For The Paddle Pop Mixture:
- 1 1/2 cups Cashews Raw
- 3/4 cup Soy Milk
- 1 1/2 tablespoons Lucuma Powder
- 1/3 cup Maple Syrup
- 1/3 cup Coconut Oil Melted
- 1 seed Vanilla Pod
- 1 teaspoon caramel extract add more to taste *
- 1 teaspoon food coloring Yellow, Blue and Green Vegan Food Coloring
Instructions
- Line a 6 inch square tin with plastic wrap and set aside.
- In a food processor, combine all ingredients for the base until a "dough" forms. If it's too dry, add 1/2 a teaspoon of water at a time until it forms a dough. Pat into the base of your tin and leave in the fridge whilst making your filling.
- To make the Paddle Pop Filling, place all ingredients except Food Coloring in a high powered blender and blend till smooth.
- Once blended and smooth, divide mixture into four bowls and add a few drops of each coloring (Pink, Yellow, Blue and Green) to each bowl. Stir to mix color in well. What you're aiming for are pastel rainbow shades, so don't go over the top.
- Once ready, spoon colors randomly over the base until you’ve used all of the mixtures up. Using a knife, marble or swirl colors to your desired effect.
- Place tin in freezer and freeze overnight.
- Once frozen, let that for 5 minutes before slicing into bars.
- You can keep bars frozen and in an air tight container for up to 1 month. Remove from freezer and let thaw for 5-10 minutes each and every time you'd like to treat yourself to a slice.
Lindsey says
Annie says
Becca H says
Amrita says
Edwina says
Denise says
Amrita says
dixya @food, pleasure, and health says